Pressure Cooker Cheesecake in Jars

This pressure cooker cheesecake is light, creamy and tastes amazing, plus it’s fast and easy! The jars are adorable and make cute mini cheesecakes! I recently purchased an Instant Pot electric pressure cooker and everyone in the Instant Pot community kept raving about the cheesecake they made in theirs. Who knew you can bake a cheesecake in a pressure cooker? I had to try it!
The only hitch was, I needed a 7-inch springform or removable bottom cake pan and I didn’t have one. I looked in every the kitchen department, everywhere without luck and didn’t want to order one online. Then, I came across a recipe for cheesecake made in little, itty bitty 4-ounce mason jars. I have dozens of glass jelly jars in various sizes so I was all set to make my first batch of mini-cheesecakes in jars.

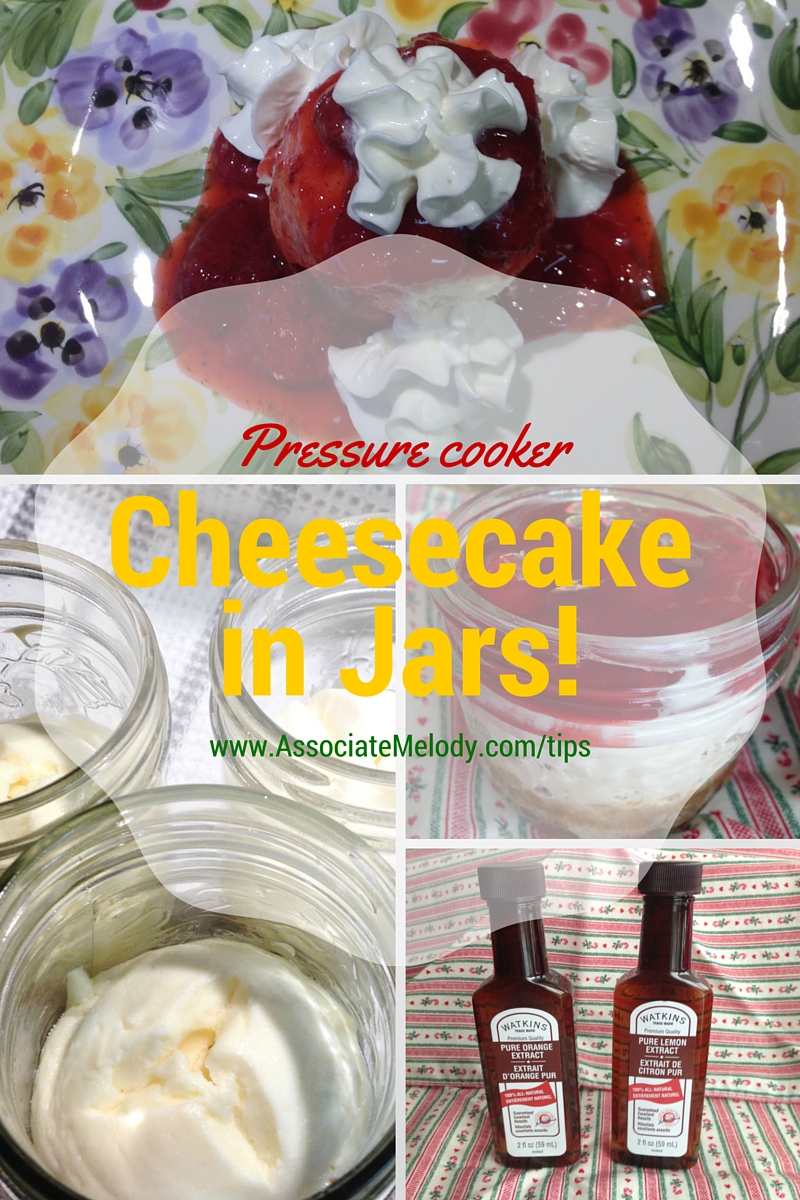
This pressure cooker cheesecake is light, creamy and tastes amazing, plus it's fast and easy! Served in jars the mini cheesecakes are adorable and cute!
Ingredients
- 1/4 cup graham cracker crumbs (or cookie crumbs of your choice)
- 1-2 teaspoons sugar (optional, I don't use it)
- 2 tablespoons melted butter (real butter)
- 1 250g (8oz) package of cream cheese
- 1 large egg
- 1/4 cup sugar
- 1 tablespoon lemon juice
- 1/2 teaspoon Watkins Clear Baking Vanilla
- 1/2 to 1 teaspoon Watkins extract, flavor of your choice to compliment your crust and topping
Directions
- First, remove the cream cheese from the refrigerator and allow it to come to room temperature. This will make it easier to mix with the other ingredients.
- Mix the first three crust ingredients together, divide mixture between five to seven 4 or 8 ounce jelly jars, tamp down to form the crust. I used a small glass for a tamper. Set aside the jars while you make the filling.
- Beat the cream cheese with all the other ingredients until smooth. Divide the filling between the jars. Cover each jar tops with small piece of tinfoil. Put 1 cup of water into the bottom of your pressure cooker. Place jars on a rack inside of pressure cooker.
- Lock on lid, close valve, set pressure cooker on manual, high pressure for seven minutes. When the cycle is complete allow pressure to release naturally, about 7 or 8 minutes.
- Remove jars from cooker, place on a towel or rack to cool. Careful the jars will be hot. I used canning jar tongs, oven mitts work too. Then store in refrigerator to completely cool.
- Serve in the jars, topped with fruit or any other desired topping based on the flavor used. Whipped cream is always nice! Dig in!
- Or loosen the cake from the jar by sliding a knife around the inside being sure you get all the way to the bottom to release the crust too. Gently tip out the cheesecake, place on a place, garnish and serve!
Notes
Here are some flavor options for you to try. Almond, Coffee, Lemon, Mint, Orange, Caramel, Cherry, Coconut, Hazelnut, Maple, Pumpkin Spice, Raspberry, Root Beer, Rum, Strawberry or Vanilla.
Instant Pot Cheesecake in Jars
Here’s my Instant Pot cheesecake in jars recipe and a low sugar strawberry topping.
Ingredients
- 1/4 cup graham cracker crumbs (or cookie crumbs of your choice)
- 1-2 teaspoons sugar (optional, I don’t use it)
- 2 tablespoons melted butter (real butter)
- 1 250g (8oz) package of cream cheese
- 1 large egg
- 1/4 cup sugar
- 1 tablespoon lemon juice
- 1/2 teaspoon Watkins Clear Baking Vanilla
- 1/2 to 1 teaspoon Watkins extract, flavor of your choice to compliment your crust and topping
Directions: Remove the cream cheese from the refrigerator and allow it to come to room temperature. This will make it easier to mix with the other ingredients.
Mix the first three crust ingredients together, divide mixture between five to seven 4 or 8-ounce jelly jars, tamp down to form the crust. I used a small glass for a tamper. Set aside the jars while you make the filling.
Beat the cream cheese with all the other ingredients until smooth. Divide the filling between the jars. Cover each jar tops with a small piece of tinfoil. Put 1 cup of water into the bottom of your pressure cooker. Place jars on a rack inside of pressure cooker.
Lock on the lid, close the valve, set pressure cooker on manual, high pressure for seven minutes. When the cycle is complete allow pressure to release naturally, about 7 or 8 minutes.
Remove jars from cooker, place on a towel or rack to cool. Careful the jars will be hot. I used canning jar tongs, oven mitts work too. Then store in the refrigerator to completely cool.
Serve in the jars, topped with fruit or any other desired topping based on the flavor used. Whipped cream is always nice! Dig in!
Or loosen the cake from the jar by sliding a knife around the inside being sure you get all the way to the bottom to release the crust too. Gently tip out the cheesecake, place on a place, garnish and serve!
Here are some flavor options for you to try. Almond, Coffee, Lemon, Mint, Orange, Caramel, Cherry, Coconut, Hazelnut, Maple, Pumpkin Spice, Raspberry, Root Beer, Rum, Strawberry or Vanilla.
I’ve made these pressure cooker mini-cheesecakes in both 4-ounce and 6-ounce jars, it works perfectly in either size. Use the larger jars for 5 or 6 servings, and the itty bitty jars for 6 or 7 servings. I can fit 7 jars in my 6 quart Instant Pot. If you have a different brand check to see how many will fit inside your pressure cooker before you start. Don’t forget to use a rack.
Here’s a low sugar strawberry topping recipe for your cheesecake, it’s great on pancakes and waffles too. Since it’s the middle of winter here I used frozen berries, you can make it with fresh as well.

Strawberry Cheesecake Topping
2 cups strawberries, frozen whole (cut in half if desired)
1 tablespoon cornstarch
2 tablespoons water
2 – 3 tablespoons sugar
1/2 teaspoon Watkins Baking Vanilla
Partly defrost the berries. Heat 1/2 cup of the berries and sugar in a saucepan, crushing them to help release the juice. Mix cornstarch with water, stir into hot berries and cook until sauce is thick and clear. Turn off heat, stir in remaining berries and vanilla. Mix well. Store in refrigerator until serving time.
Tip: Vanilla extract enhances and sweetens the flavor of strawberries and other fruits which means you can use less sugar.
Before I rarely baked cheesecake, I love it but hubby won’t even try it! Really? Who doesn’t like cheesecake? If I made one, I’d have to eat it ALL myself! These mini cheesecakes make a nice dessert when we have dinner guests and I think they’d make wonderful gifts as well! Let us know if you try it!


19 Nov 2018
I am making these for the first time. Thanks for making it in the Instant por. I love using mine for everything. I will not be using the toppings only because everyone there would not like it. I will be bring some over separate so they can put them on themselves. Thanks again
26 Nov 2018
You’re welcome Donna. The nice thing about making the cheesecakes in little jars in you can offer a variety of toppings so everyone can have the one they like. Let us know how they turned out!
19 Nov 2018
I was also wondering could you make everything up till you place them in instant pot. Place it in refrigerator for a day or two. Then cook them on the day of the party or holiday
26 Nov 2018
I’d recommend baking them first, they need to be cooled before you eat them. The cheesecakes keep well in the fridge for a week or so.